Paper Quilling Tips for Beautiful, Frustration-Free Coils
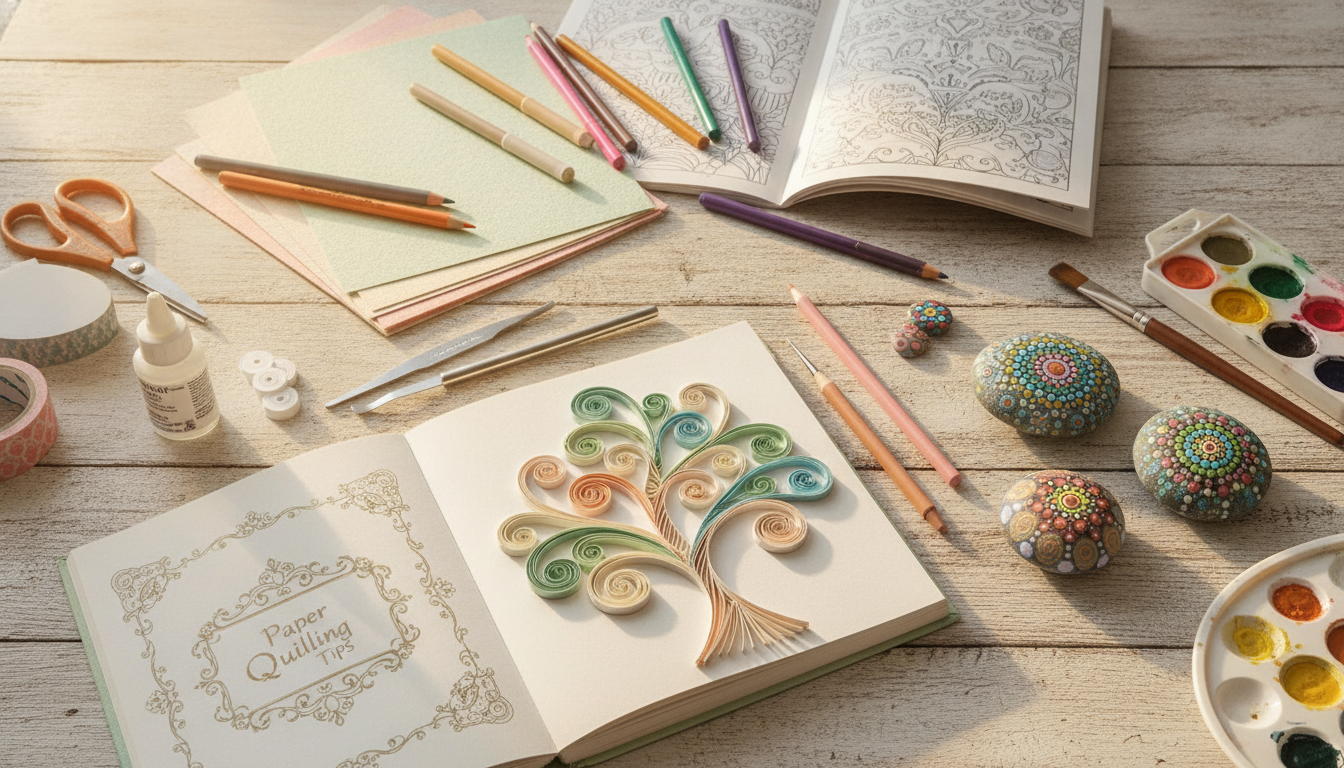
There's something deeply satisfying about turning thin strips of paper into intricate coiled art. But if you've ever ended up with wobbly circles, glue-smeared fingers, or a quilled flower that looks more like a crumpled tissue, you know paper quilling has a learning curve. The good news? With a few tried-and-true techniques, you can skip years of trial and error and start creating gorgeous quilled designs right away. Whether you're picking up a quilling tool for the first time or looking to refine your skills, these tips will help you quill with more confidence and less mess.
Start With the Right Supplies
Great quilling starts before you even roll your first coil. Using the right tools and materials makes every other step easier.
- Choose quality quilling paper: Look for strips specifically made for quilling — they're pre-cut, consistent in width, and hold their shape better than paper you cut yourself with scissors.
- Pick the right paper weight: Lighter paper (around 52-68 lb) is easier for beginners to coil tightly, while heavier cardstock works better for structural pieces like 3D quilling.
- Invest in a slotted or needle tool: Slotted tools are beginner-friendly since the paper slides into a small slot, but they can leave a tiny crease at the center of your coil. Needle tools take more practice but create cleaner, crease-free centers.
- Use a quilling board or corkboard with pins: This helps you shape coils evenly and pin pieces in place while glue dries.
Master the Basic Coil First
Almost every quilled design — from a simple flower to an elaborate mandala — is built from a handful of basic shapes. Before jumping into complex projects, spend time perfecting the tight coil and loose coil, since nearly everything else builds on these two.
How to Get a Perfectly Tight Coil
- Insert the paper strip into your tool, keeping the edge flush.
- Roll slowly and evenly, applying gentle, consistent pressure with your fingers guiding the paper.
- Keep the coil tension even throughout — don't let it loosen halfway through.
- Glue the tail end down without releasing the coil first (unless you want a loose coil).
If your coils keep coming out uneven, slow down. Rushing is the number one reason beginner coils look sloppy.
Glue Smarter, Not Messier
Excess glue is one of the most common quilling mistakes, and it's easy to fix once you know a few tricks.
- Use a toothpick or fine-tip glue applicator instead of squeezing glue straight from the bottle. This gives you far more control and prevents blobs.
- Apply a tiny dot, not a line. A little glue goes a long way — you only need enough to secure the paper's tail end.
- Let go slowly. After gluing a loose coil, release it gradually so it expands evenly inside your quilling board before it dries.
- Keep a damp cloth or cotton swab nearby to wipe your fingers and tools, since dried glue residue can transfer onto your paper and dull the finished look.
Shape With Intention
Once your coils are solid, shaping them into teardrops, marquises, hearts, and shells is where quilling really comes alive.
- Pinch gently, not hard. Use your thumb and forefinger to pinch one side of a loose coil into a teardrop — squeezing too hard can crease the paper unevenly.
- Practice shapes in batches. Making ten teardrops in a row builds muscle memory faster than switching shapes constantly.
- Use consistent coil sizes within one design unless you're intentionally creating varied dimension — uniform shapes look more polished in flowers and geometric patterns.
Work With Color and Paper Strategically
Color choice can make or break a quilled piece, especially in floral or nature-themed designs.
- Layer two-toned strips (light on one edge, darker on the other) for a natural gradient effect in flower petals without any extra blending work.
- Stick to a limited color palette per project — three to five complementary colors usually look more cohesive than a rainbow of shades.
- Store strips flat and away from sunlight to prevent curling and fading before you even start your project.
Fix Common Quilling Problems
Coils Won't Stay Tight
This usually means your paper tension is inconsistent while rolling, or you're releasing the coil too quickly after gluing. Slow your roll and hold the coil for a few extra seconds after applying glue.
Paper Strips Keep Tearing
Cheap or very thin paper tears easily, especially at tight curves. Switch to a slightly heavier strip weight or dampen your fingertip slightly for better grip.
Finished Pieces Look Flat
Add dimension by gently cupping petals or leaves with a slotted tool or the rounded end of a paintbrush before gluing them into your final design.
Practice Projects to Build Skill
If you're not sure what to make while practicing, try these confidence-building projects:
- A simple quilled flower with five teardrop petals and a tight coil center
- A quilled monogram letter filled with coils in varying sizes
- A geometric mandala using only tight coils and marquise shapes
- A greeting card embellished with a few quilled leaves and swirls
Starting small keeps frustration low and lets you see quick improvement, which makes it much easier to stay motivated as a beginner.
Final Thoughts
Paper quilling rewards patience more than natural talent — every quiller starts with wobbly coils and glue-covered fingers. By choosing the right materials, mastering your basic coils, controlling your glue, and shaping with intention, you'll notice real improvement faster than you'd expect. Keep a few practice strips on hand, work slowly, and don't be afraid to unroll and redo a coil that doesn't feel right. With consistent practice, quilling becomes less about perfection and more about the calming, creative rhythm of rolling paper into art.