How to Prepare a Paper Quilling Flowers Project
There's something magical about watching a plain strip of paper curl into a delicate rose petal or a cheerful daisy center. Paper quilling flowers are one of the most rewarding projects for craft lovers of any skill level, but a little preparation goes a long way toward making the process smooth, relaxing, and truly beautiful. Whether you're planning a framed floral bouquet, greeting cards, or a gift box topper, getting organized before you start is the secret to professional-looking results. Let's walk through everything you need to prepare your paper quilling flowers project so you can quill with confidence.
Why Preparation Matters in Paper Quilling
Quilling is a craft of patience and precision. Unlike painting or sketching, where you can improvise freely, quilled flowers rely on consistent strip widths, steady coiling, and a clear plan for color and shape. Rushing into a project without the right tools or a design idea often leads to frustration—uneven petals, glue smudges, or a piece that just doesn't come together visually. Taking fifteen extra minutes to prepare sets you up for a stress-free crafting session and a finished piece you'll be proud to display.
Gather Your Essential Quilling Supplies
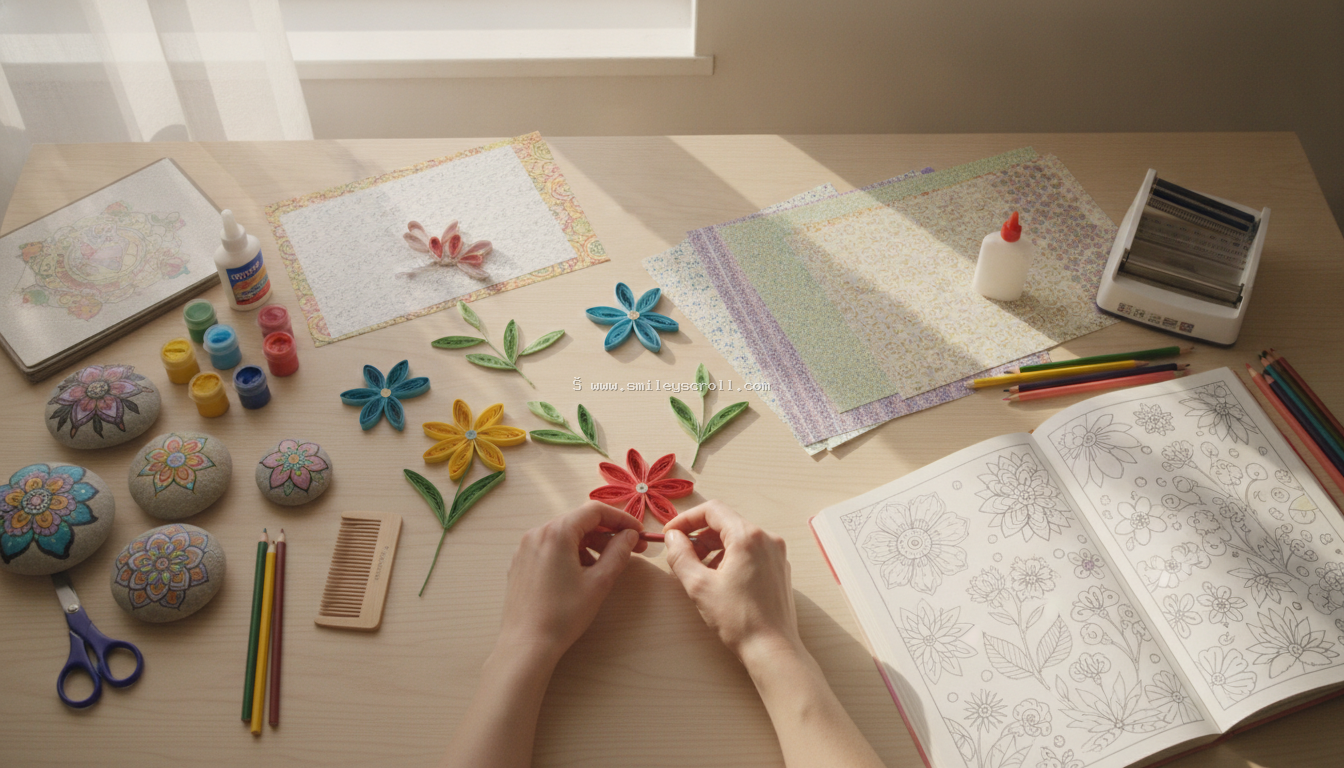
Before you sit down to craft, make sure you have all the basics within arm's reach. Nothing derails creative momentum faster than pausing mid-project to search for a missing tool.
- Quilling paper strips: Choose strips in your desired colors and widths (typically 3mm, 5mm, or 10mm for flowers). Precut strips save time, though you can cut your own from cardstock.
- Quilling tool: A slotted tool or needle tool helps you roll tight, even coils.
- Glue: A quick-drying craft glue or a fine-tip glue applicator gives you control and prevents excess mess.
- Tweezers: Essential for placing tiny petals and adjusting coils without fingerprints or smudges.
- Quilling board or corkboard with pins: Helpful for shaping flowers, especially layered blooms like roses or daisies.
- Scissors and ruler: For trimming strips to exact lengths.
- Base surface: Cardstock, a canvas, or a greeting card blank, depending on your final project.
Laying out these tools before you begin means your hands stay free to focus on shaping instead of searching.
Choose Your Flower Designs in Advance
One of the best ways to prepare a paper quilling flowers project is to decide exactly which flowers you want to create before cutting a single strip. Popular quilled flower shapes include:
- Roses: Made from a continuous spiral strip, rolled and shaped into loose petals.
- Daisies and sunflowers: Created using fringed strips that are rolled and fluffed into flower centers.
- Tulips and simple blossoms: Built from basic coils shaped into teardrop or marquise petals.
Sketching a rough layout—even a simple pencil doodle on your base card or canvas—helps you visualize spacing, color balance, and stem placement before committing any glue. This step also helps you estimate how many strips of each color you'll need, so you're not caught short mid-project.
Tip: Create a Color Palette First
Pick two or three main flower colors, one or two accent colors, and a green shade for leaves and stems. Limiting your palette in advance keeps your bouquet looking cohesive rather than chaotic, and it makes shopping for quilling paper strips much easier.
Prepare Your Paper Strips
If you're using precut strips, organize them by color and width in small trays, envelopes, or a divided storage box. If you're cutting your own from cardstock, use a paper trimmer for clean, straight edges—uneven strips lead to wobbly, lopsided coils.
For fringed flowers like daisies or chrysanthemums, pre-fringe a batch of strips ahead of time using small, sharp scissors or a fringing tool. Having a stack ready to roll speeds up the crafting process significantly and helps you keep a steady rhythm once you start.
Set Up a Comfortable Workspace
Quilling is detailed work, so your environment matters just as much as your supplies.
- Good lighting: Natural daylight or a bright desk lamp reduces eye strain and helps you see subtle color differences.
- A clean, flat surface: Keeps strips from curling unexpectedly or catching on clutter.
- A damp cloth or glue mat: For quick cleanup of excess glue.
- Storage trays or small bowls: Keep finished coils separated by flower type so they don't get crushed before assembly.
Sitting somewhere comfortable with good back support also matters—quilling sessions can run long once you get into the flow!
Practice Your Basic Coils
If you're newer to quilling, spend five to ten minutes warming up with a few practice coils before starting your actual project. Roll a tight coil, a loose coil, and a teardrop shape to get a feel for your paper's tension and your tool grip. This small warm-up prevents wasted strips later and builds muscle memory for consistent pressure, which directly affects how uniform your flower petals look.
Common Beginner Mistakes to Avoid
- Rolling coils too loosely, causing petals to lose their shape over time.
- Using too much glue, which can warp thin paper strips.
- Skipping the design sketch, leading to uneven spacing on the final piece.
- Mixing paper weights inconsistently, which affects how flowers sit together.
Assemble in Stages
Rather than gluing everything onto your base immediately, prepare all your individual flower components first—petals, centers, and leaves—and let them dry completely. Once you have a full set of pieces, arrange them loosely on your base without glue to check spacing and composition. Only glue everything down once you're happy with the layout. This staged approach avoids the common regret of gluing a flower in the wrong spot and having to redo your background.
Final Tips for a Polished Result
- Store extra strips flat in a labeled box to prevent curling before your next project.
- Seal finished pieces with a light coat of clear sealant if you want extra durability, especially for cards or gifts that will be handled often.
- Photograph your layout before gluing so you can recreate it if a piece shifts.
Conclusion
Preparing a paper quilling flowers project doesn't need to be complicated—it simply means gathering the right supplies, planning your design and colors, and setting up a workspace that supports careful, enjoyable crafting. With a little upfront planning, you'll spend less time troubleshooting and more time enjoying the meditative, satisfying process of turning simple paper strips into gorgeous quilled blooms. Happy quilling!